Why it matters how you apply a CGM sensor
For CGM sensor application, skin preparation and following the model’s steps support adhesion and correct use. They cannot guarantee error-free operation or absence of irritation throughout wear.
The guide below is a preparation and checking aid. The manual supplied with the device remains the reference for insertion site, component assembly and who may perform insertion.
What you need before application
Preparation is half the success. Before opening the sensor package, make sure you have on hand:
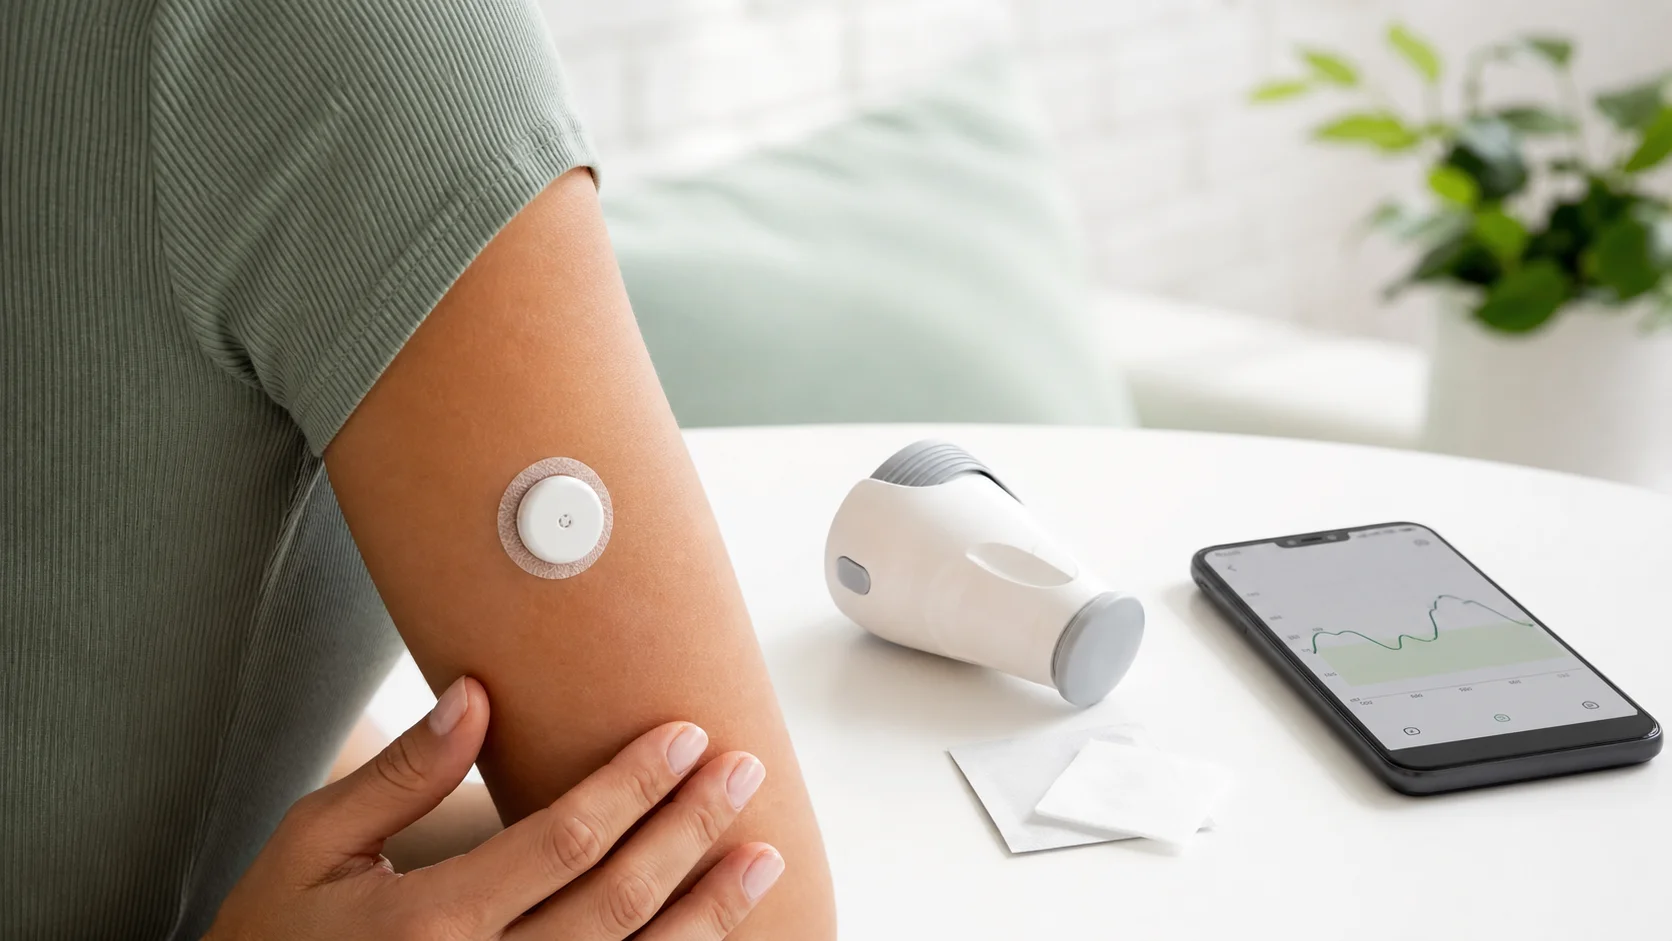
The cleaning wipe specified by the manual - check whether it is included. Connect 21 includes a wipe and patch; other product contents may differ. Let the skin dry fully.
Clean hands - wash your hands with soap and water before handling the sensor. Grease from your fingers can contaminate the adhesive.
Clean work surface - open the package on a clean table. Not on a bed or couch, where textile fibers can adhere to the adhesive.
Overpatch - check whether the model includes or requires one and how it should be positioned. Any additional product must be compatible with the sensor instructions.
Barrier products - these are not a mandatory step. For sensitive skin, discuss options and check device compatibility before putting a product beneath the adhesive.
How to apply a CGM sensor - detailed steps
Step 1: Choose the application site
Choose only a site approved for the device and user’s age. The examples below are not interchangeable options for every sensor:
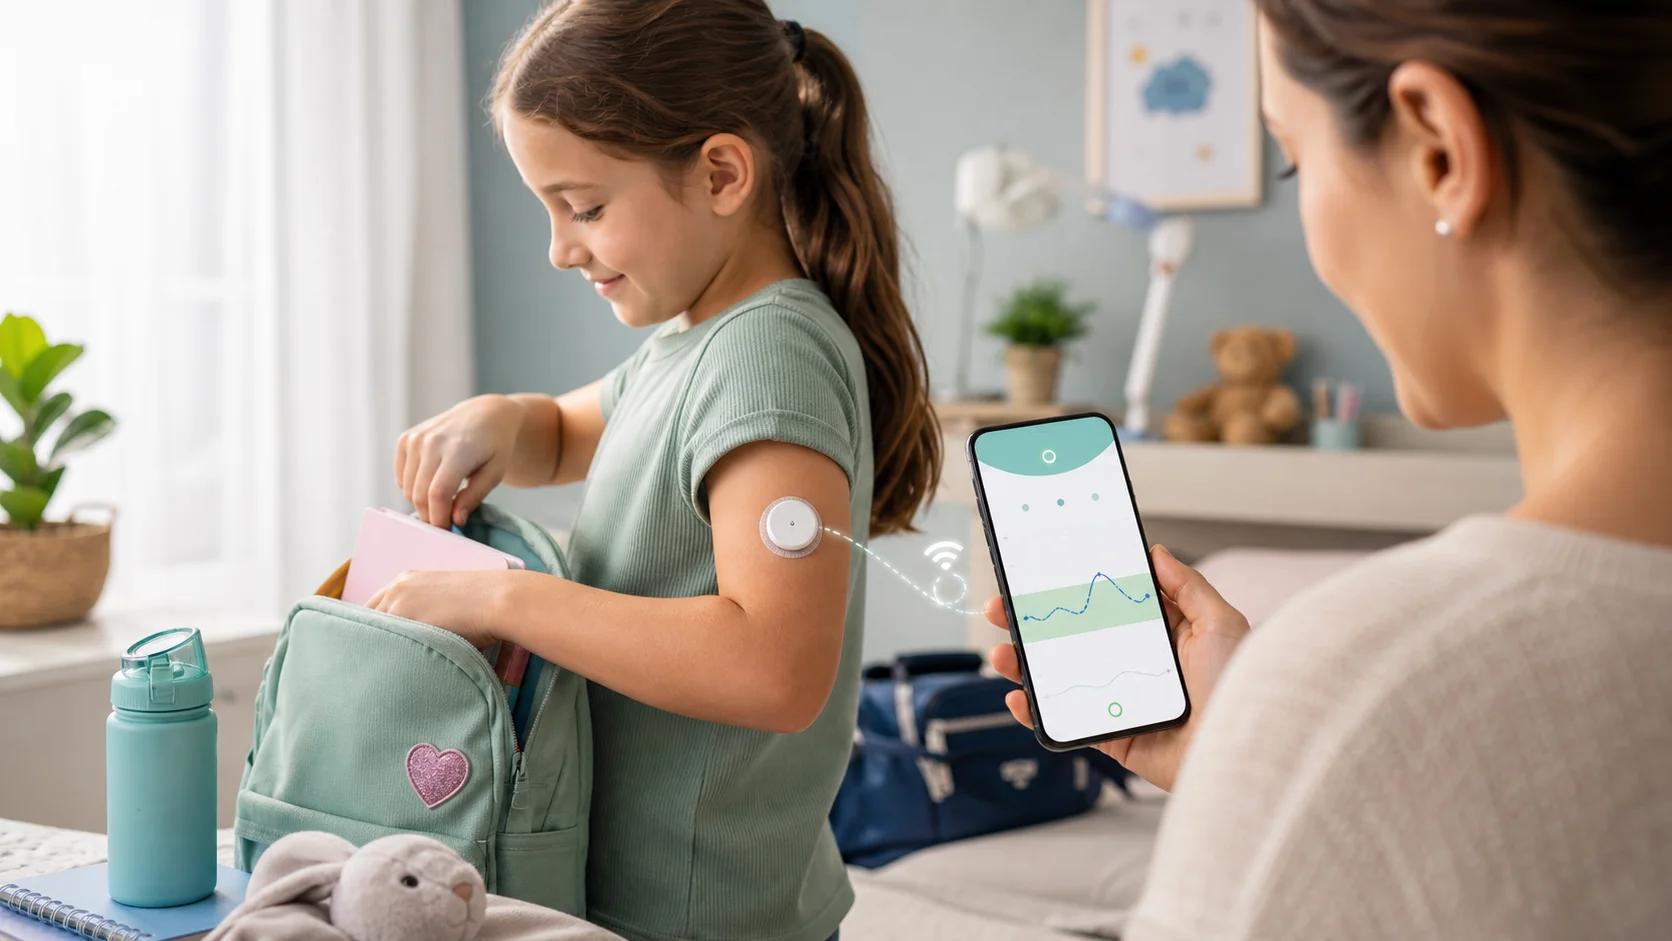
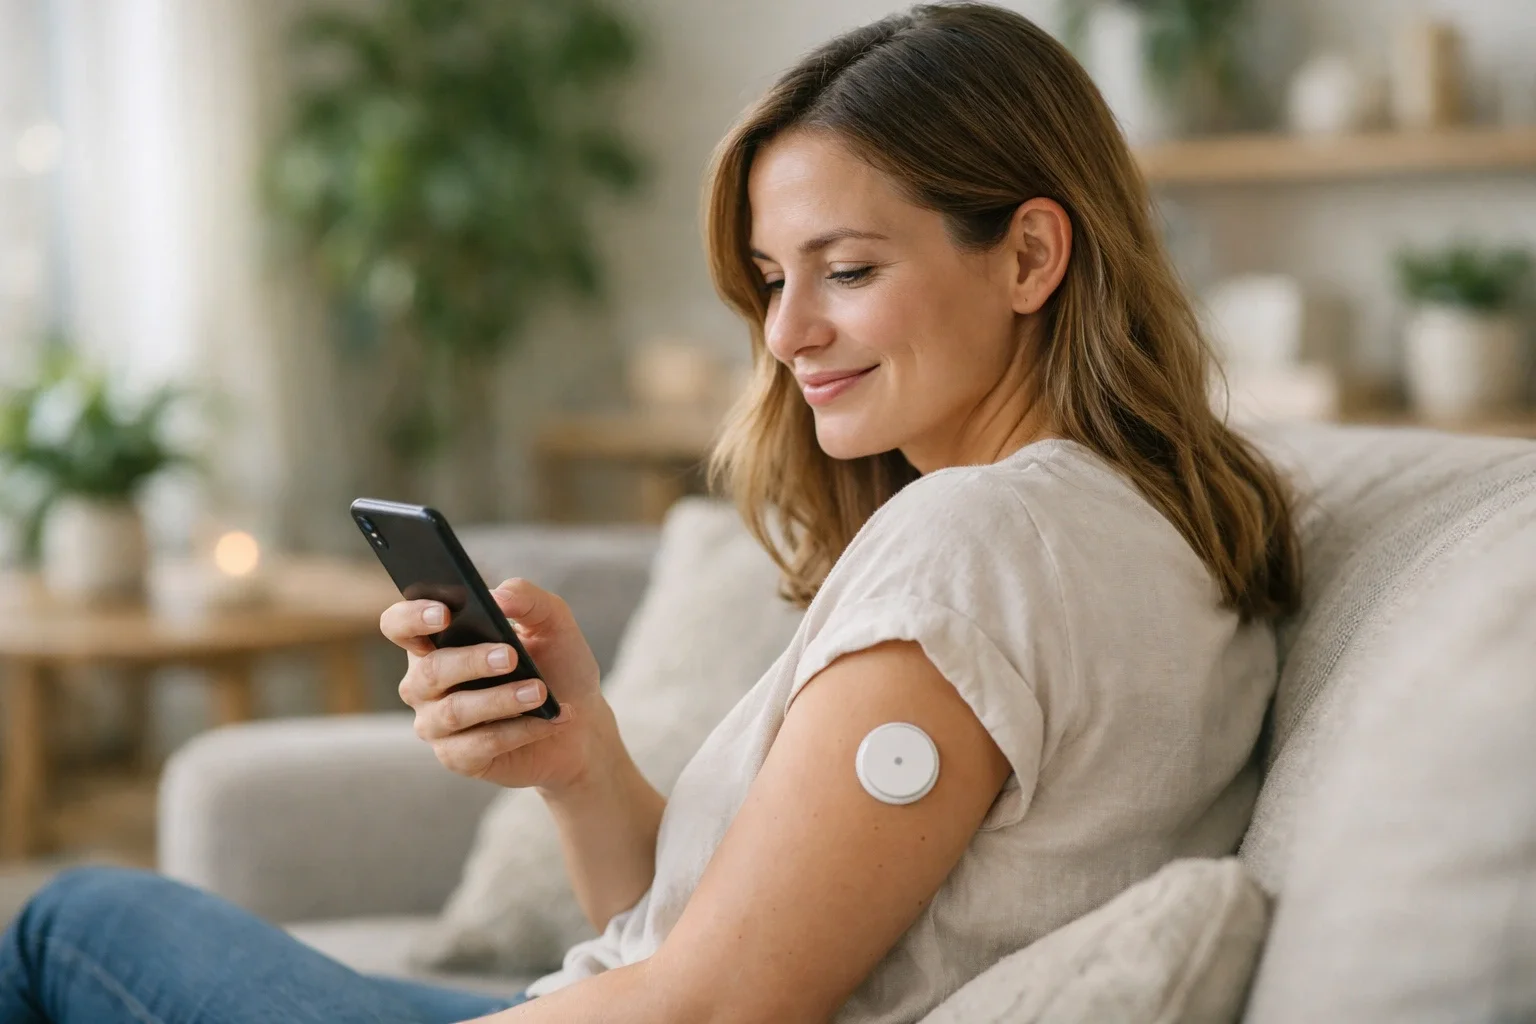
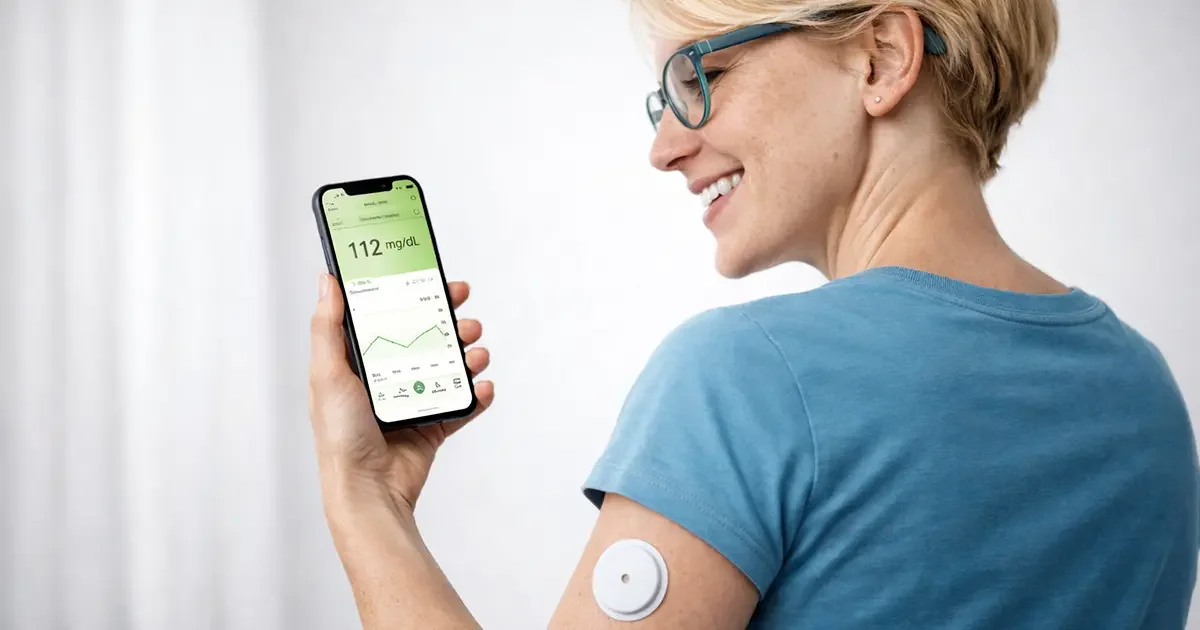
Back of the upper arm - follow the manual diagram if this site is indicated for the model. Avoid damaged skin, scars and points exposed to friction or pressure.
Abdomen - permitted for some devices and age groups, not all. Follow the manual’s distances from the navel and injection sites.
Rotate points within approved areas. Do not insert into irritated or unhealed skin; healing time is not identical for everyone.
Step 2: Prepare the skin
Check the skin before opening the pack: it should be suitable for preparation according to the manual and free of injury at the selected site.
Clean the skin and manage hair only as instructed by the manufacturer. If alcohol is used, let it evaporate fully; do not insert on wet skin. No single drying time applies in every condition.
Do not put creams or oils on the adhesive site. If a barrier product is permitted for your model, follow its instructions and allow full drying.
Step 3: Open the sensor package
Open the package on a clean surface. Check the expiration date and package integrity. If the package is damaged, do not use the sensor.
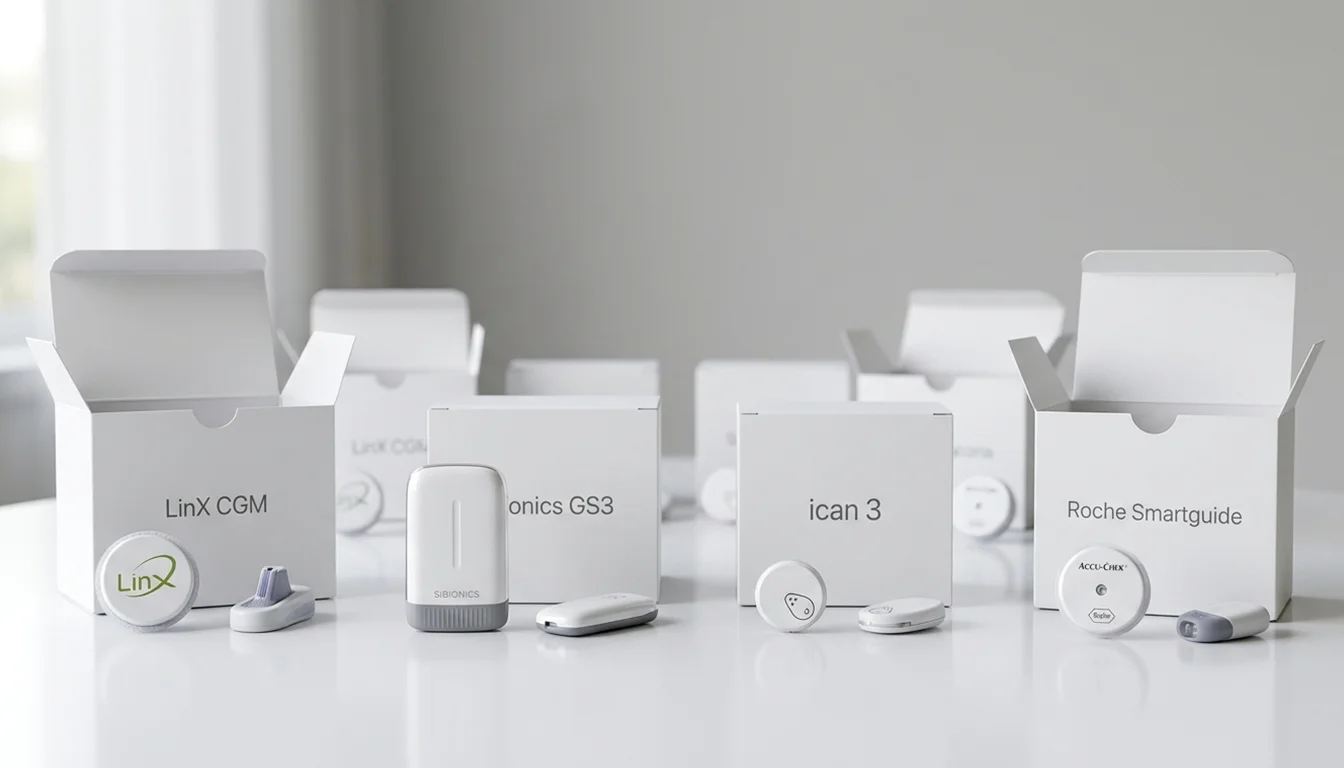
Most sensors come with a pre-loaded applicator. LinX CGM Sensor, for example, has an intuitive applicator that simplifies the process to the maximum. Follow the manufacturer's specific instructions for applicator assembly, if applicable.
Step 4: Position the applicator on the skin
Position the applicator at the angle and in the manner illustrated by the manufacturer. Check safety locks and the step sequence before triggering; mechanisms differ.
Hold the site as shown in the manual. Do not stretch or compress skin as a universal trick; a manoeuvre suitable for one applicator may not suit another.
Step 5: Apply the sensor
Trigger the applicator exactly as instructed. Pressure, a prick or discomfort may occur; stop and seek help if a problem arises that is not covered by the manual.
Remove the applicator in the sequence and after the time specified for the model. Check adhesive attachment without pulling the sensor, and apply the supplied patch if instructed.
Step 6: Activate the sensor
Activate or pair the sensor through its compatible app or reader, following the model’s steps. LinX has a 60-minute warm-up and iCan i3 two hours; not every model uses NFC scanning or the same timing.
Use a meter when you need a value during warm-up. Warm-up should not be confused with any calibration the device may require later.
Tips for adhesion during the wear period
For good adhesion, check guidance on adhesive and activities during the first hours. The intended wear duration is the model’s own, not always 14 days.
Securing the edges - smooth the adhesive as shown in the manual without excessive pressure on the device. There is no universal 30-second rule.
Additional patch - use the shape and positioning permitted by the manufacturer. Do not cover openings or components that must remain exposed, or improvise cut-outs without instructions.
After showering - wait until skin is fully dry and prepared according to the manual. Also follow any recommended interval before further water exposure.
Moisturisers - keep the adhesive site free of products that may affect attachment, following the device instructions.
First hours after application - what to watch for
The first 24 hours are an adaptation period. Here's what to expect:
Unexpected readings - check app messages and use a meter when symptoms do not match. Do not assume every difference in the first 24 hours is normal and should be ignored.
Local discomfort - mild tenderness may occur. Seek medical advice for persistent pain, bleeding that does not stop, swelling or a significant skin reaction.
Pressure on the sensor can affect some readings, including overnight. However, do not ignore a low alert merely because you slept on the sensor; follow your checking and action plan.
If you are new to the CGM world, consult our article on what a glucose sensor is to better understand how the technology works in detail.
Common mistakes when applying a CGM sensor
Errors to avoid when checking insertion technique:
Application on wet or oily skin - compromises adherence from the start. Skin must be clean, dry, and degreased.
Application on scars, stretch marks, or areas with lipodystrophy - these areas have altered blood flow, which can affect reading accuracy. Choose areas with healthy tissue.
Area too close to bone - if the sensor is on a bony surface, pressure and movement can cause discomfort and erroneous readings.
Not allowing alcohol to evaporate - applying on skin still wet with alcohol is a common mistake. Residual alcohol irritates the skin under the adhesive.
Abruptly removing the applicator - abrupt movement can partially peel the adhesive or displace the filament. Remove the applicator slowly and gently.
How to remove a CGM sensor
Remove the sensor according to the manual, releasing adhesive gradually without forcing the skin. For difficult adhesive, check which removal product is permitted.
Check the skin after removal and keep it clean. Seek medical assessment for worsening redness, discharge, swelling, persistent pain or other signs of infection.
Do not reinsert the filament or reuse the sensor. Dispose of sensor and applicator according to the manual and local rules for electronics, batteries and sharps; do not assume all components belong in household waste.
Advanced tips for experienced users
After the first few sensors applied, you can optimize your experience:
Choose a suitable time - allow time to read steps, complete warm-up and check initial data. Insertion before sleep does not guarantee stable readings by morning.
Planning replacement - check whether the app allows only one active sensor and what happens when a new one starts. Do not activate two sensors simultaneously or early unless the manual provides for it.
Site journal - note in the app or in a notebook where you applied each sensor. It will help you rotate sites systematically and identify any recurring problems.
Seasonal adjustment - check temperature and water limits and monitor adhesion. Choose patches or barrier products around compatibility and actual need rather than as a mandatory routine.
Summary - quick checklist for CGM sensor application
To ensure that each sensor is applied correctly, use this quick checklist:
Clean hands; intact, in-date packaging; approved, healthy site; prepared and fully dry skin; applicator steps followed in order; adhesion checked; activation in the compatible app; meter available during warm-up.
The checklist helps avoid omissions but does not replace the manual or guarantee trouble-free use. Keep packaging and product details for any support enquiry.