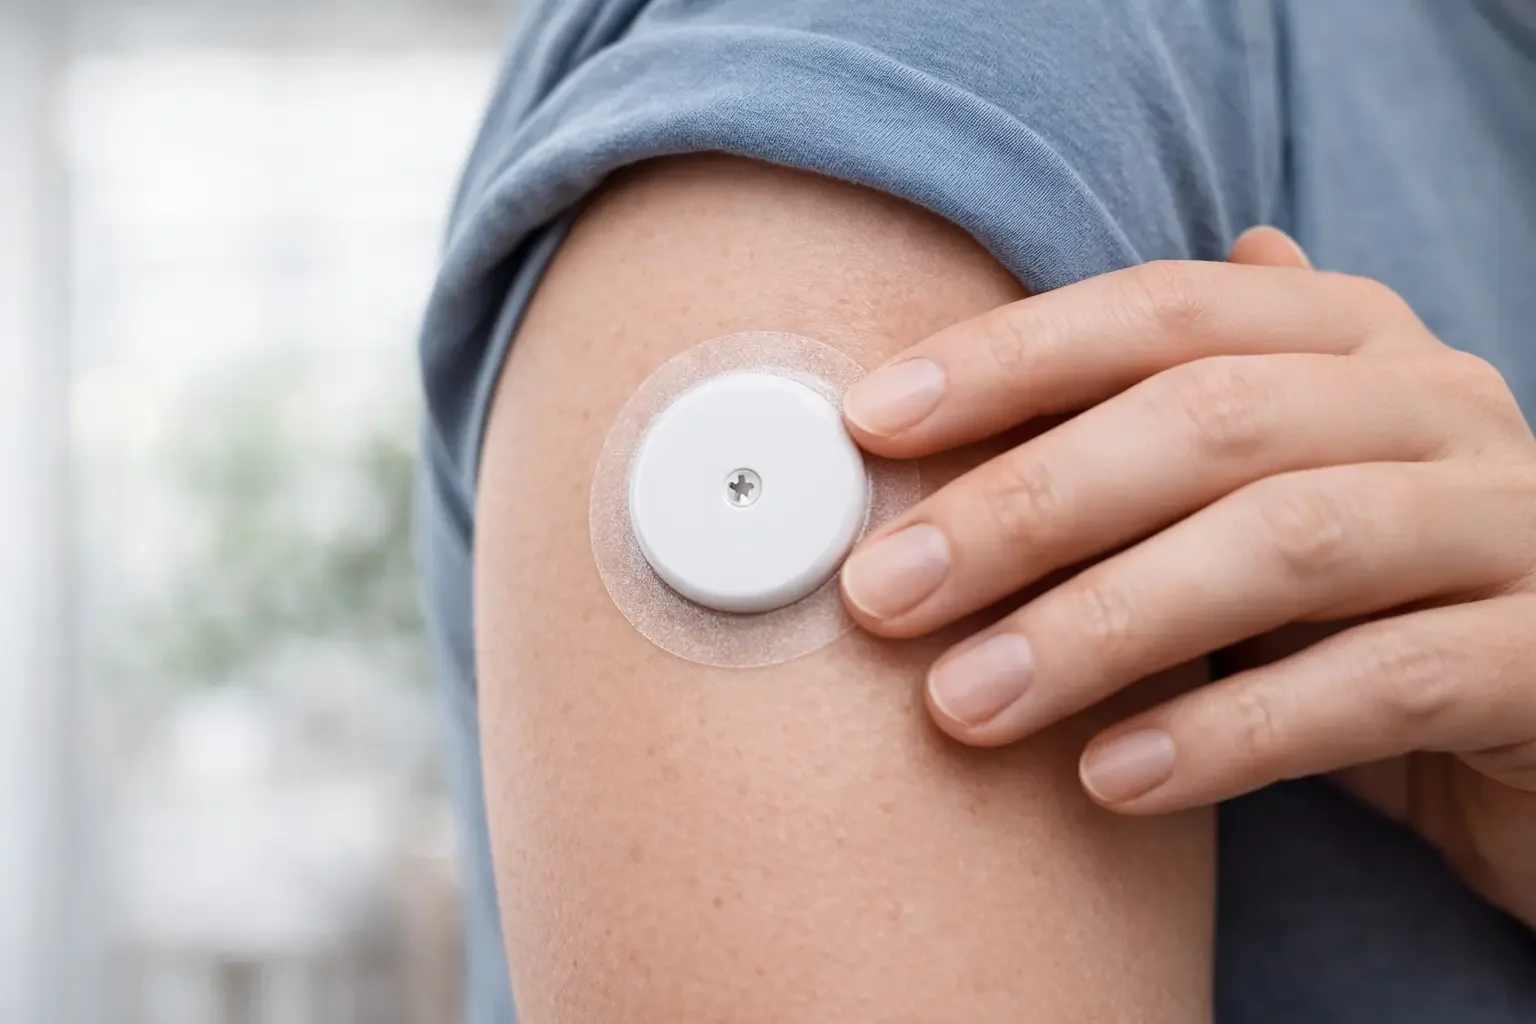
Your first CGM sensor - from decision to first measurement
Choose your first CGM sensor around your medical needs and phone compatibility, not price alone. This guide helps you check practical details before buying.
But I know that the first purchase can be intimidating. There are multiple models on the market, unfamiliar technical terms, and practical uncertainties: Will it hurt? How do I apply it? What do I do if something goes wrong?
In this guide I'll walk you step by step through the entire process - from choosing the model to the first days of use. The difference from our general guide about CGM sensors is that here I focus exclusively on the first purchase experience: common mistakes, realistic expectations, and practical tips I give my patients before their first CGM experience.
Step 1 - Check if CGM is right for you
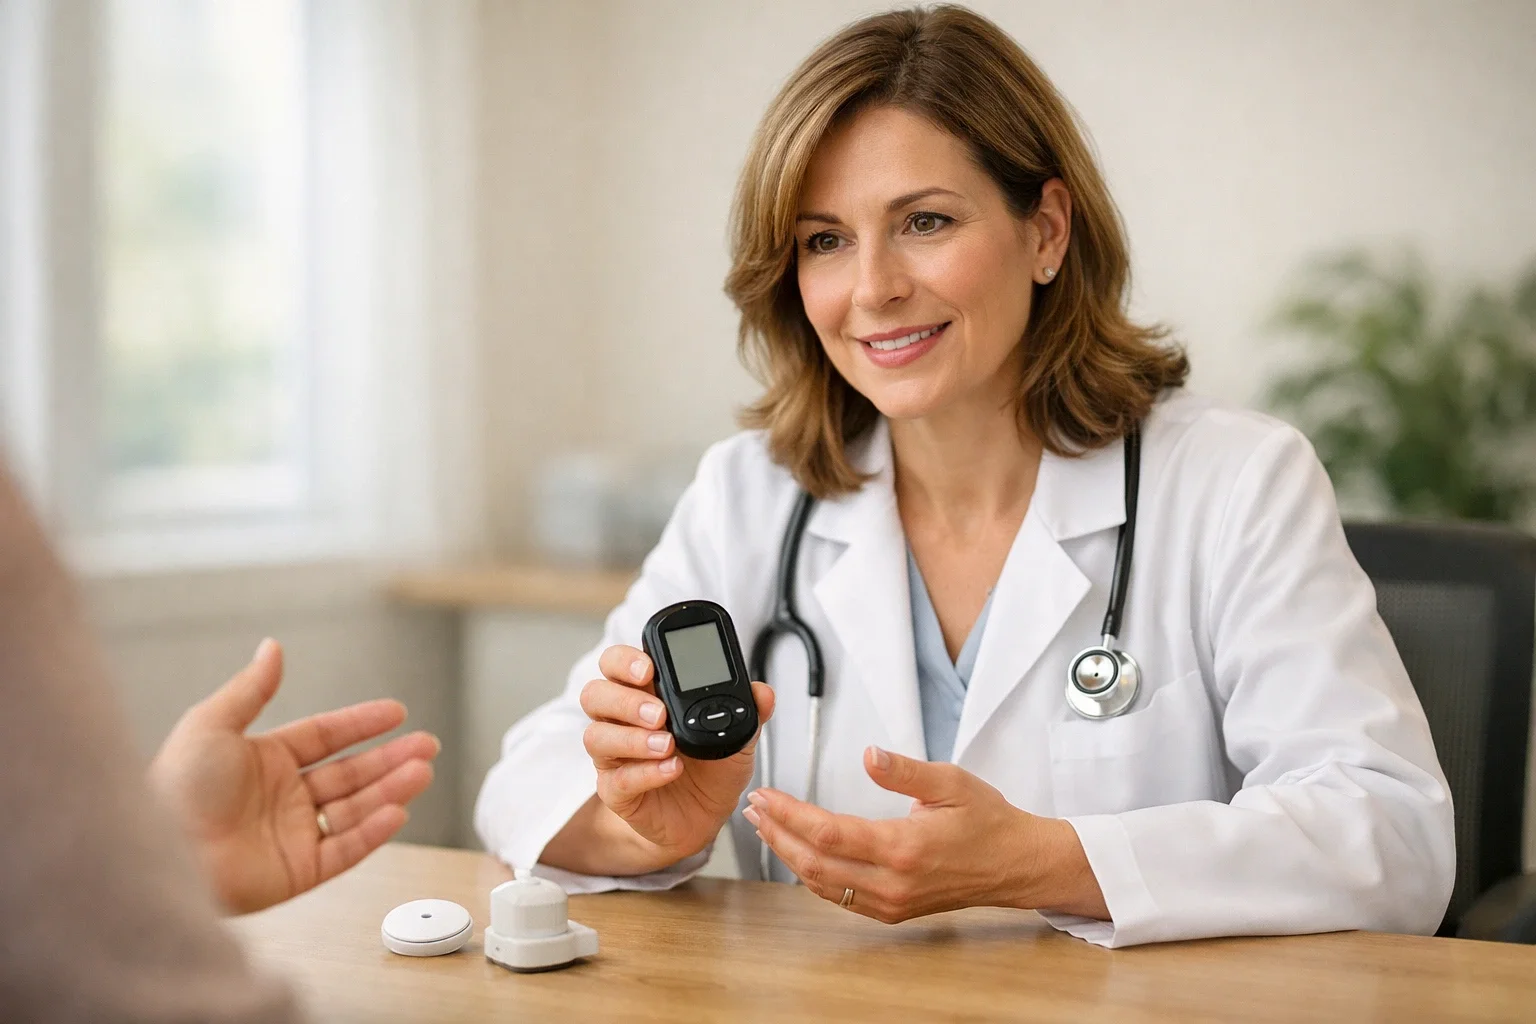
Before buying, discuss the indication, hypoglycaemia risk and how you will use the data with your care team. Situations in which CGM may be useful include:
You have type 1 diabetes; ADA guidance recommends CGM with insulin therapy, choosing a device around individual needs and ability to use it.
You have type 2 diabetes with insulin therapy and want better control
You experience large blood glucose fluctuations that your glucometer doesn't capture
You have nocturnal or unrecognized hypoglycemia
You want to understand patterns around meals and activity, and your clinician considers that information useful for managing your diabetes.
If you're unsure, read Glucometer vs CGM Sensor - Which is better? for a detailed comparison. Or consult CGM for type 2 diabetes: Is it worth the investment?
Step 2 - Choose the right model for YOUR FIRST experience
Prioritise a suitable indication and verified compatibility, then alerts, comfort and total cost. A low price cannot compensate for an incompatible phone or unsuitable indication.
My recommendations for your first CGM sensor
Choice #1 for beginners: LinX CGM
Compare the current product-page price and cost across its 15-day wear period.
Compact format; check the model’s dimensions and instructions before choosing.
IP68, subject to the depth and duration limits in the manual; the rating does not mean unlimited water exposure.
Simple application with included applicator
Choice #2: Sinocare iCan i3
Compare the current iCan i3 offer with other products, including its 15-day wear and two-hour warm-up.
Check the iCan app and compatible-phone list before buying.
Manufacturer with experience in glucose monitoring
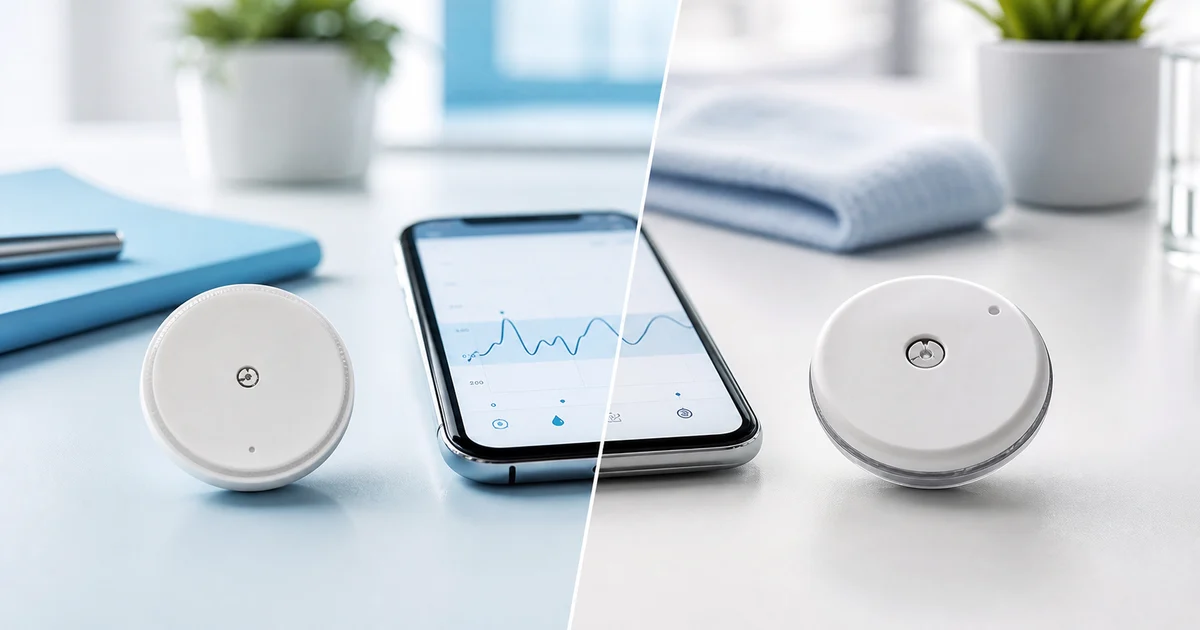
Another option to compare: Sibionics GS1
For GS1, interpret accuracy data within the study context; MARD is not a direct ranking of products tested differently.
Consult the official manual and manufacturer’s user resources.
Compare the cost for 14 days of wear with the duration and features of alternatives.
For a complete comparison between all models, see Top 5 CGM sensors Romania 2026.
Step 3 - Check compatibility with your phone
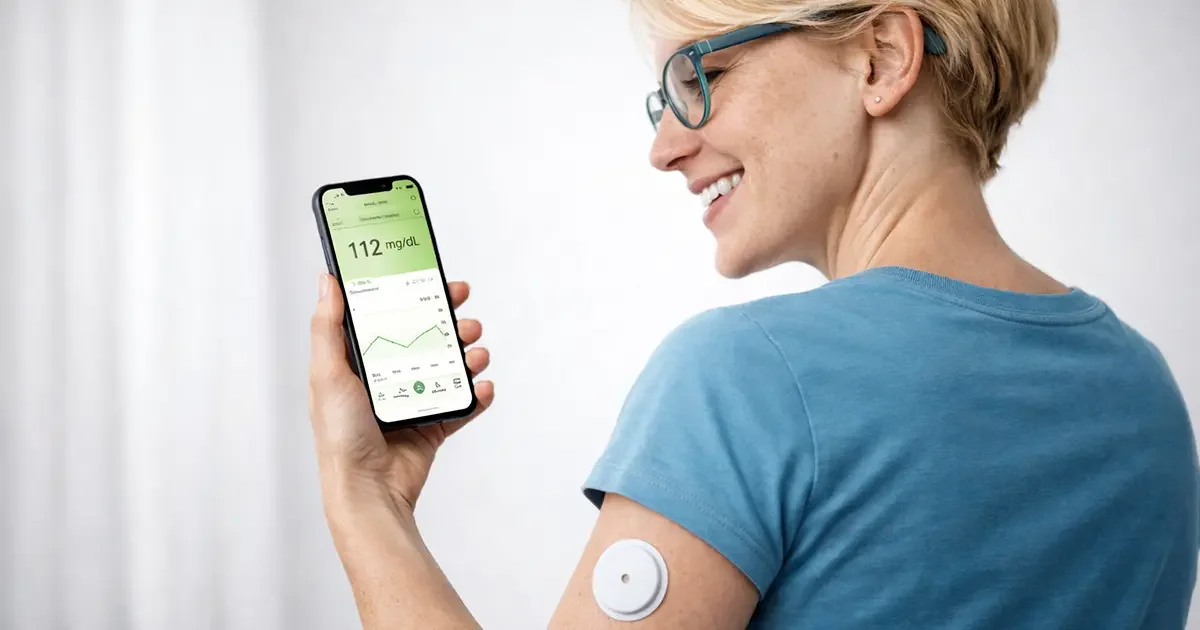
This is a step many people skip and then have unpleasant surprises. Before ordering, check on the product page that the sensor app is compatible with your phone.
Phone checks:
iPhone: check the exact model and iOS version against the manufacturer’s list.
Android: check the exact model and operating-system version; having Bluetooth alone does not establish compatibility.
Compatible phone: Check the manufacturer’s list for the exact phone model, operating-system version and sensor app. Bluetooth availability or the phone’s age does not guarantee compatibility.
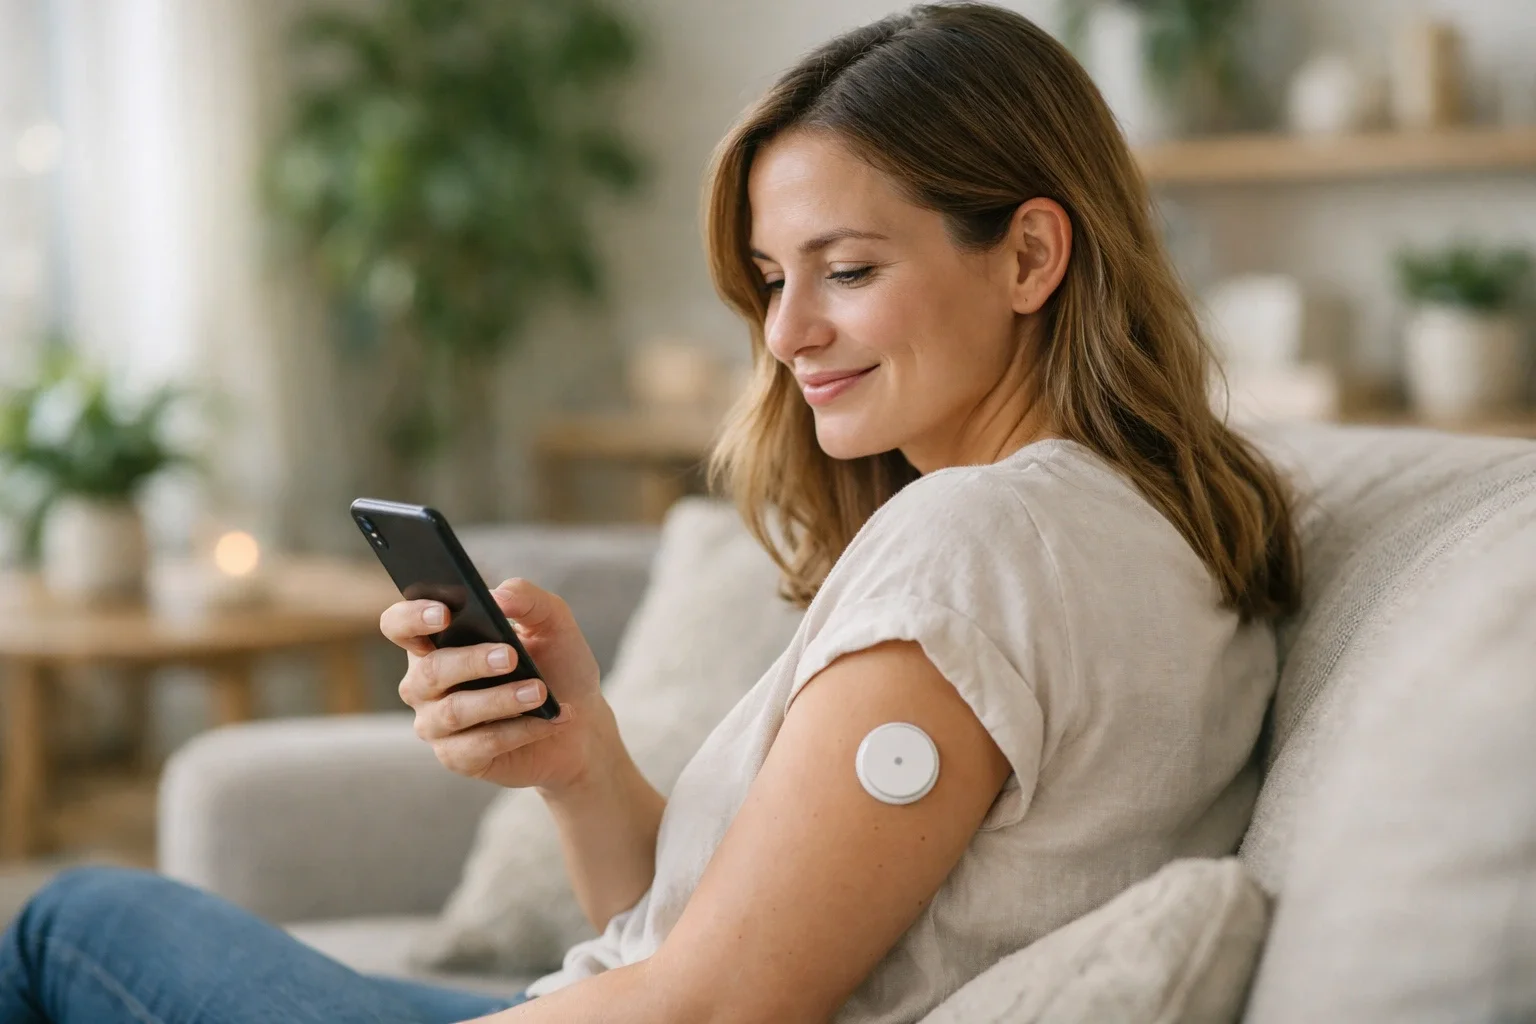
Important tip: Install the app before you receive the sensor. Create your account, get familiar with the interface, and read the help section. That way, when you receive the sensor, you'll be ready to activate it without hesitation.
Step 4 - Order a single sensor to start
Before buying a large pack, check indication, compatibility and skin tolerance. A smaller first order can limit the cost if a model does not suit you.
One sensor can be a starting point for familiarisation if that fits your care plan. Duration varies: LinX and iCan i3 have 15 days, while GS1 has 14. Consider:
Whether the chosen model fits you in terms of size and comfort
Whether the app will suit you in terms of interface and functionality
Whether you're ready to continue with CGM monitoring long-term
Once you know the model suits you, compare individual purchases with active subscription plans rather than assuming every offer is cheaper.
Step 5 - Preparing for your first application
When you receive the sensor, don't apply it immediately. Allow 15 minutes for preparation:
What you'll find in the box
The sensor - packaged sterile, ready for application
The applicator - the device that inserts the sensor under the skin (single use)
Instructions - read them completely, even if they seem simple
Skin preparation
Use only the site specified for the device and user’s age; the back of the arm is not a rule for every device.
Prepare the skin according to the manual and allow it to dry completely before insertion.
Avoid areas with: excessive hair, scars, birthmarks, moles, recent tattoos
Avoid areas of intense friction: waistband, backpack straps, watch band on the same arm
The actual application
The applicator inserts a filament beneath the skin. Insertion is brief, but sensations vary: pressure, a prick or discomfort may occur. CGM is not completely non-invasive.
Practical tip: read the exact assembly and activation sequence before opening the pack. Do not improvise applicator pressure or position; ask for help if a step is unclear.
Step 6 - First hours and first day - what to expect
Here's what you need to know about the first hours with your CGM sensor:
Warm-up: wait for the time specified by the device. LinX requires 60 minutes and iCan i3 two hours; timings are not universal. Use your meter for measurements during this period.
First readings: differences from your meter can have several causes. If a reading does not match symptoms, check and follow the manual rather than automatically treating it as normal settling-in.
Initial alerts - if you haven't configured alert thresholds, you might receive frequent notifications. Adjust the thresholds in the app to the values recommended by your doctor.
Physical sensations: local tenderness may occur. Persistent pain, bleeding that does not stop or a significant skin reaction requires assessment rather than simply waiting.
Step 7 - Interpreting data in the first week
This is the part where CGM will surprise you. You'll see:
Postprandial peak - how much your blood glucose rises after a meal (many patients are surprised)
Dawn phenomenon - the natural rise in blood glucose early in the morning, before waking up
Exercise effects: glucose may fall or rise depending on activity, insulin, food and other factors.
Nocturnal fluctuations - what happens to your blood glucose while you sleep
Important tip: learn to read graphs without improvising treatment changes. Continue your prescribed plan, including responses to lows and highs; do not delay necessary action until the first week ends.
Common beginner mistakes - and how to avoid them
Applying to wet skin can weaken adhesion. Wait until it is fully dry.
Frequent checking: agree with your care team when to check the app. Alerts help but do not replace every necessary check.
Unexpected reading: consider the trend too, but do not ignore a concerning reading or symptoms. Confirm with your meter when instructed.
Alert settings: use thresholds agreed with your care team and check that the phone can deliver warnings.
Treatment changes: follow your prescribed self-management plan rather than improvising doses from a single CGM reading.
Final tips
At review, note what was useful and what was difficult: adhesion, alerts, the app and data interpretation. These observations help you choose the next step.
Check availability and delivery terms for CGM sensors when ordering. For questions about use, consult the manual and product support.
Also read: Top 5 CGM sensors Romania 2026 | LinX CGM vs Sibionics GS1 | How much does a CGM sensor cost in Romania